Wednesday, March 30, 2011

It's a Bird... It's a Plane... It's SuperVeg!

          I am experiencing my kale awakening- raw, sautéed, grilled… it just keeps getting better!  I have always been a huge fan of dark green veg, and the Lacinato or Tuscan variety of kale is probably as dark and green as it gets.  Also known as Dinosaur kale, this relative of the cabbage certainly looks like a scaly creature from another time with its shiny, knobby long leaves and intense grey-blue coloring. 
Kale is truly a SuperFood- low in calories but packed with minerals like iron and calcium, an excellent source of dietary fiber and vitamins A, K and C- it already comes with all that good stuff that gets injected into so many of the processed foods we consume.  I was also pleasantly surprised to find that kale is considered a good source of nearly complete proteins, making it a vegetarian’s dream veg.  So instead of popping that multi-vitamin in the morning, consider working this nutritional powerhouse into your diet.
With its hearty flavor and versatility, kale can be prepared in so many wonderful and delicious ways.  Because its leaves are so sturdy and fibrous, many recipes will call for pre-cooking in one form or another, usually by blanching in salted water.  A lot of times, they will tell you to cut the stem out, but I always leave it in because I love the crunch.  I’ve thrown kale into soups, baked it into chips, and sautéed it plenty of times, and a few weeks ago I even tried raw kale salad- but this was my first time cooking the Dinosaur variety and I wanted to do something different.  Inspired by one of my favorite dishes, the kale Caesar Salad at Back 40 here in the East Village, I went to break in the new grill pan we got as a wedding gift. 
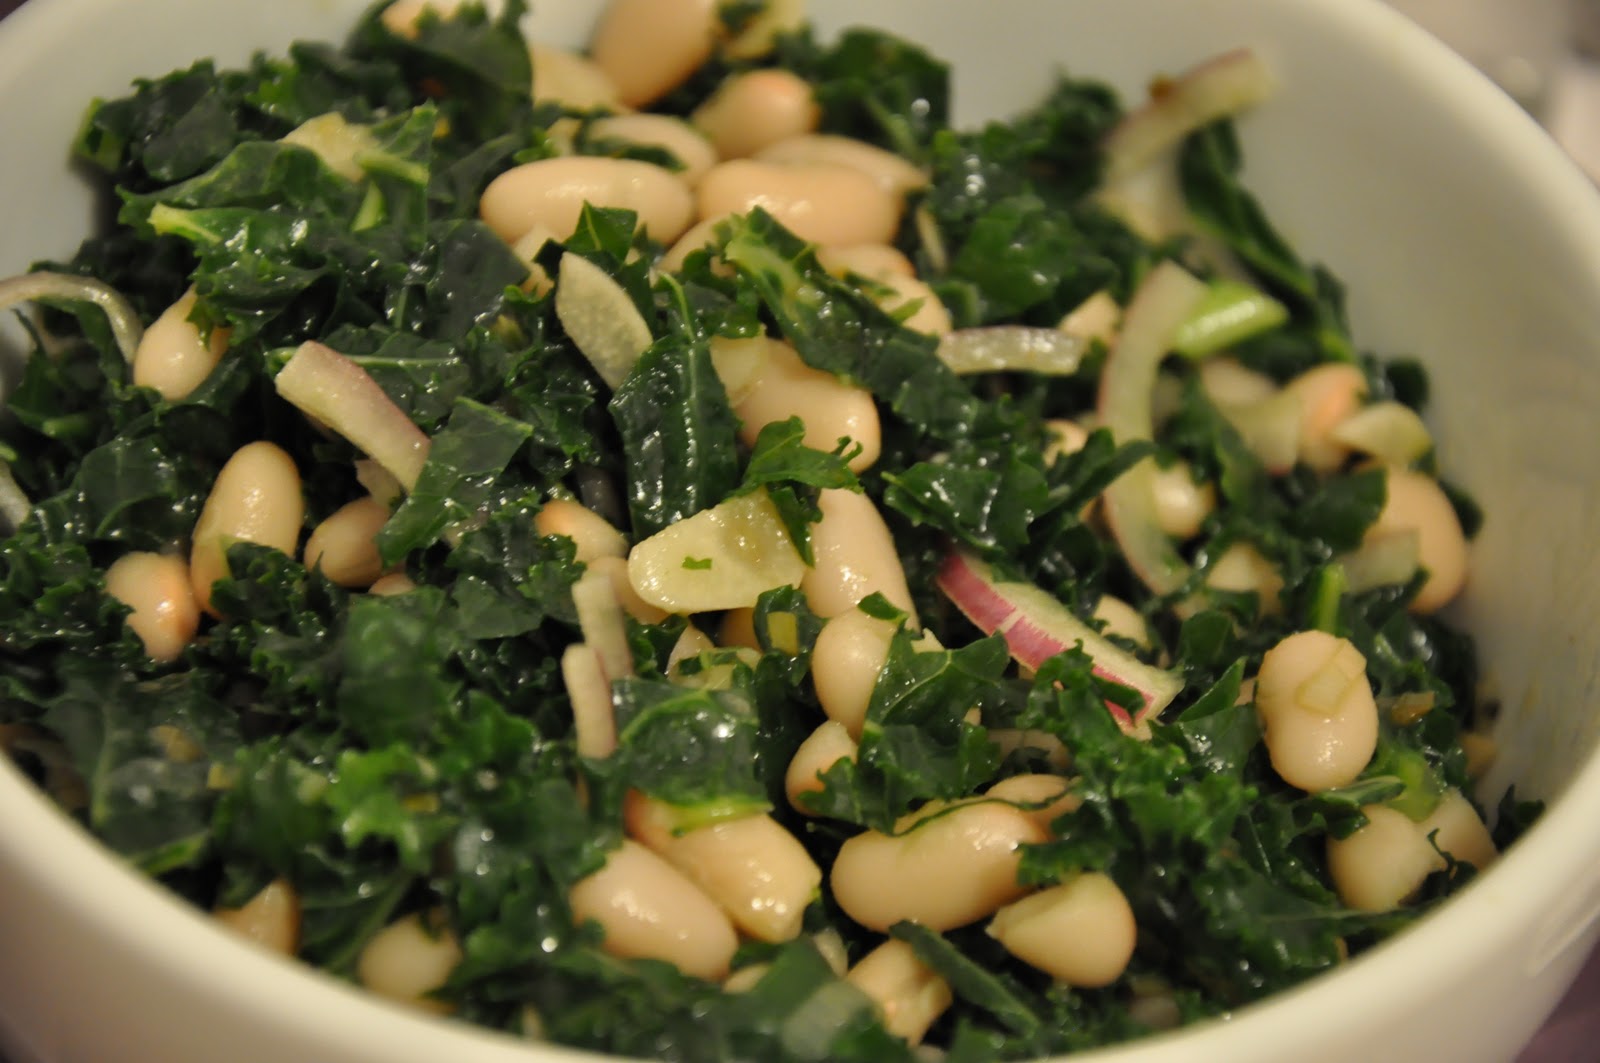
Grilling the Tuscan kale brings out its natural meatiness and crisps up the edges of the leaves, creating a mind-bending combination of textures and a deep savory flavor.  You could eat it straight off the grill, or add the grilled leaves to other preparations to impart a depth of flavor you don’t get from boiling.  I chopped up the charred kale and threw it in a pan with a bunch of baby potatoes, onions, butter, garlic and mustard, and I served it (to myself!) with a simple piece of seared Hake seasoned with salt and pepper, then drizzled everything with a quick pan sauce.  The intensity of the kale counterbalanced the sweet little potatoes and the delicate flaky fish, making a soul-satisfying meal in under an hour.

Pan-Seared Hake with Lacinato Kale and Baby Bliss Potatoes
                                         
Grilled Lacinato Kale

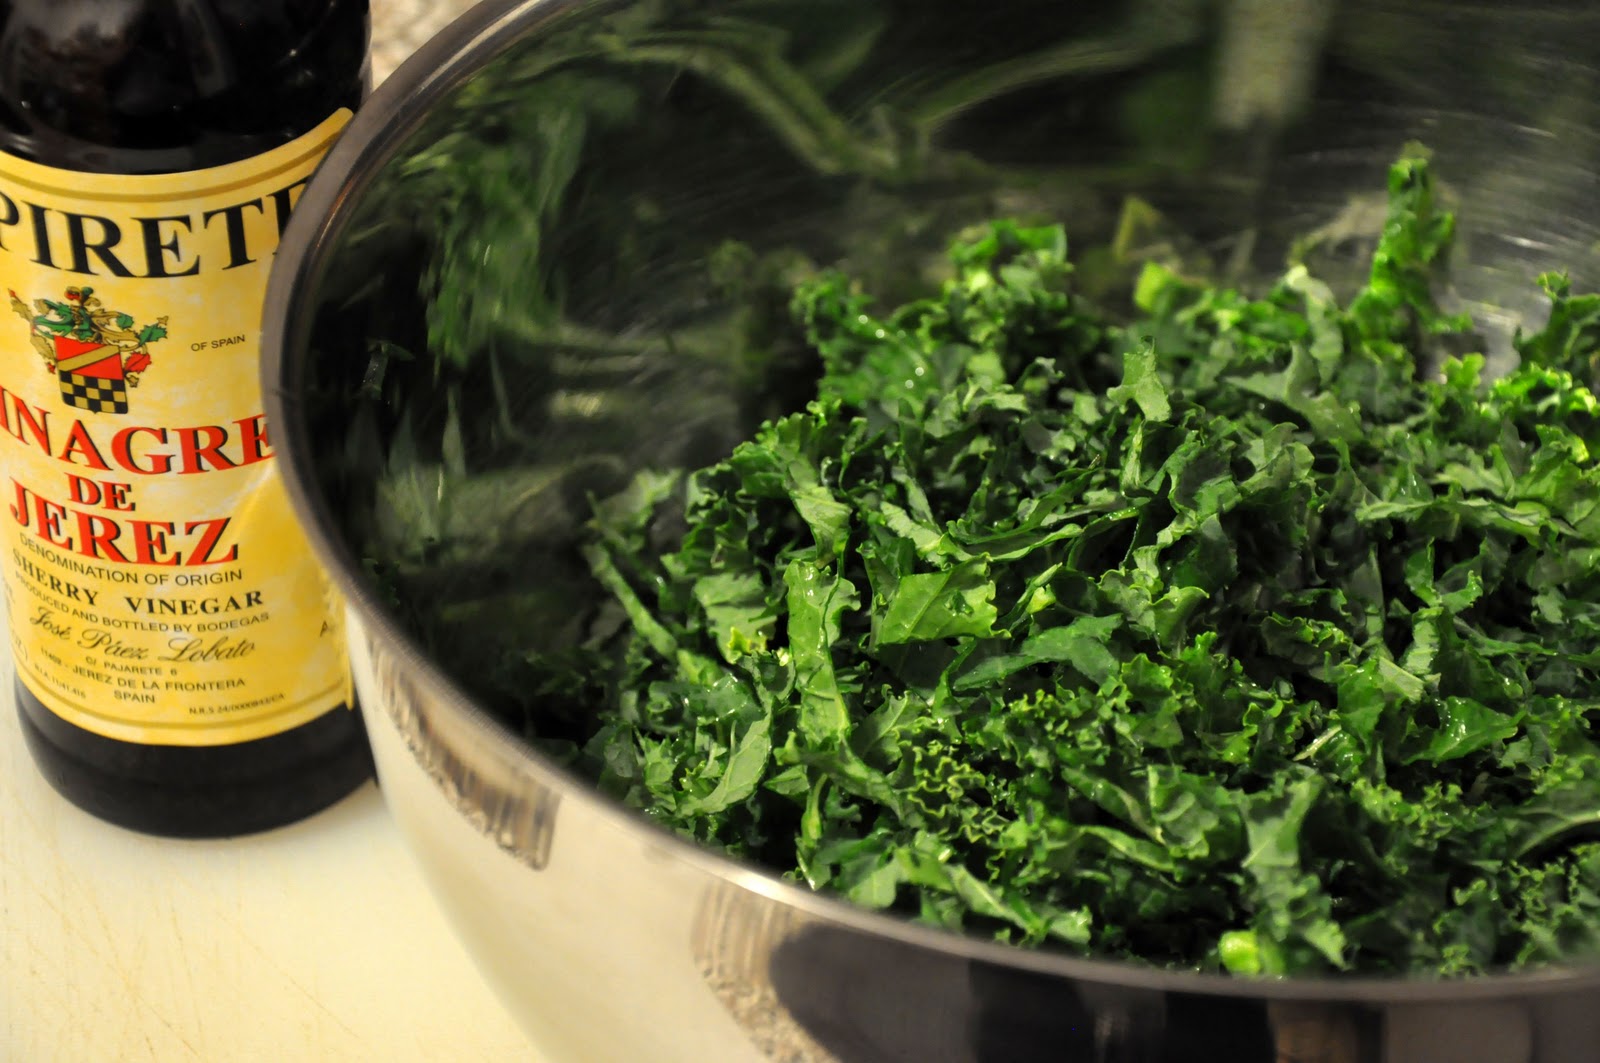
1 bunch       Dinosaur Kale, washed and dried
1 t               sherry vinegar
2 t               Olive oil (approx)
salt, pepper

1. Toss the kale in a bowl with oil and vinegar to coat, sprinkle with salt and pepper

2. If I didn’t live in NYC and actually had access to a proper grill, I would use it.  As it is, I’ll have to do the best with what I’ve got: a heavy-duty cast-iron grill pan, lightly brushed with oil and smoking hot. 

3. Place the leaves of kale onto the grill pan in batches, leaving space between them.  Cook the leaves on both sides, until you see grill marks and the edges become crisp.  You don’t need to cook them long if you are grilling as a pre-cook method, as for this preparation.  (If you want to eat them straight off the grill, cook the leaves until the stalks are tender, being careful not to let them burn- tear them up and toss with your favorite salad dressing.)


4. Chop up and sauté in with garlic, onions and blanched potatoes- add a spoonful of Dijon mustard to finish.  Serve with a simple pan-grilled fish.


Friday, March 25, 2011

Bob's Birthday Banana Cupcakes


Mini Banana Cupcakes with Rum-Caramel Buttercream
   Yesterday was Ai Fiori pastry chef Bob Truitt’s birthday, and at 2 in the afternoon I got a text from PJ saying everyone was going out after work to celebrate.  I wanted to make something special but didn’t have the time to put together a cake, so I opted for mini cupcakes- always a crowd pleaser.  I had a bunch of bananas rapidly turning brown in my kitchen, so I whipped up a batch of yummy banana cupcakes with caramel buttercream frosting.
 

  I was testing out a new recipe and looking for a little something different, so I searched my kitchen shelves for inspiration…  Cinnamon?  Too obvious.  Nutmeg?  Too common.  Then I came across just the thing: a little bag of dried mace that I picked up on my last trip to India.  Mace is the lacy covering of the nutmeg seed and provides a delicate, fruitier version of the same flavor; it looks like a dried reddish-orange flower and gave off a rich, spicy aroma when I ground it up. 

This dried mace gave off a peppery smell when ground


Banana Cupcakes
2 cups             AP flour
¼ t                 baking powder
½ t                 salt
½ t                 ground mace (and/or cinnamon, or nutmeg, or ginger)
½ cup             butter, soft
2 T                  vegetable oil
1 cup               light brown sugar
2                      eggs
4                      overripe bananas, the browner the better
¾ t                 baking soda
¾ c                 whole milk
yields 48 mini cupcakes, 24 standard sized

1. Preheat the oven to 325° F.  Sift together flour, salt, baking powder, and spices.  Sifting aerates the flour and distributes the other ingredients evenly- this will contribute to a soft texture in the final product.
  What makes this a banana cake as opposed to a banana muffin is the mixing method- we use the creaming method for this recipe which gives the cake a fine crumb with small even holes throughout.  There is also a bit of oil in the recipe which helps to retain moisture.
2. Start with the soft butter in the bowl with the paddle attachment.  Add the sugar and oil and beat on medium for 2-3 minutes until the mixture becomes pale.


Creaming the butter

3.  Add the eggs one at a time with the mixer on low, making sure they are incorporated.  It is best if all your ingredients are at room temp- this makes it easier for the fats to absorb the liquids and for an emulsion to form without separating. 


4. Mash up the bananas with the baking soda and add them to the bowl, mixing until smooth.

5. Alternately add the flour in three parts and the milk in two, starting and ending with the flour.  Scrape down the sides of the bowl and mix until just combined.  Over-mixing will leave you with a tough cake, so don’t do it!  Stir in pecans- you can also use chocolate chips, coconut flakes, dried cranberries, or anything else you like.


6. Scoop into a lined cupcake pan and bake at 325° F for 15-18 minutes, until they are golden on top and spring back to the touch.  I use a small ice-cream scoop to do this, it is a great way to make sure your cupcakes are even and uniform in size.


Allow the cupcakes to cool completely before frosting them, otherwise your icing might slide right off.  There is never a shortage of vanilla buttercream in my fridge, and I used a rum-caramel sauce to flavor some for these cupcakes.


  I love a garnish that tells you what you’re about to eat, so for these I topped each with a banana slice.  To keep the banana from turning brown, I heated a spoonful of caramel sauce and brushed it onto the slices with a paintbrush- you could also use apricot jam as a quick glaze.


Saturday, March 19, 2011

Sweet Potato Fries

Need a fry fix?  

Sweet Potato Fries spiced with Garam Masala

  The orange-fleshed sweet potato, or what we call a yam, is packed with vitamins and nutrients, antioxidants, dietary fiber… all that good stuff we’re supposed to be working into our daily intakes.  Here’s a quick and easy way to make oven-baked delights that satisfy your craving without requiring you put in 2 hours on the treadmill later.
  When picking your potatoes, make sure they are firm to the touch and heavy for their size.  Store in a dry dark place, but do not refrigerate- the cold air will convert the sugars into starches, ruining their sweet delicate flavor. 

1. Scrub the potatoes and pat them dry- you can peel them or leave the skin on if you like the flavor.  Cut the pointy ends off to make them easier to slice. 
2. Slice your potatoes into sticks.  Cut each potato in half around the middle, then slice lengthwise into ¾ inch pieces.  Stack the pieces, then slice lengthwise again to create batons.

3. Line a baking sheet with foil (or a Silpat if you have it), coat the sticks with olive oil, salt, pepper, and a pinch of brown sugar.  Sweet potatoes are great carriers of herbs and spices, so get creative with seasoning.  I used a bit of garam masala on these to give them an Indian kick- the cinnamon and spices enhance the sweet flesh of the potatoes, adding depth of flavor.

4. Bake in a 400° F oven for 20-25 minutes, checking every 10 minutes or so to move them around on the tray.  Use a spatula or tongs to turn the sticks, the idea is to brown as many sides as possible.  Because of the high sugar content, these fries will want to burn, so keep your eye on them, they don’t take very long to cook.
5. Remove from the oven and let them cool for 5 minutes.  Serve as a great side or on their own with your favorite dipping sauce.

Monday, March 14, 2011

Starch-Meat-Veg

  A few nights back, I was cold and hungry and struggling with the ever-persistent question: what do I want to eat?  I had spent all day inside watching the rain streak down my window panes while the whipping wind whistled its way into my little sanctuary.  The honest answer came quickly: all I craved was a big old pile of buttery mashed potatoes, creamy and fluffy and deeply comforting, like a warm blanket wrapped around my soul.
Mashed Potatoes
4 #                  potatoes, peeled
5 cloves          garlic
½ cup             warm milk
½ cup             stock
¾ stick          butter
¼ cup             sour cream
                        Salt, pepper


1. Place potatoes and garlic cloves in a pot and cover with cold water, then put on high heat to boil for about 20-30 minutes, until the potatoes are cooked.  When the water starts boiling, add a generous amount of salt.  You can boil the potatoes whole, but like I said I was hungry and impatient, so I chopped them into cubes to speed up the cooking time.
2. In the meantime, combine the liquids and heat to make them easier to incorporate later.  For vegetarians, you can leave out the stock and supplement with more milk.
3. To test for doneness, slide a paring knife into the potato and lift it gently.  If it slides off the knife, it is done.  If it sticks, give it more time.  Drain the potatoes and garlic and allow them to sit for a few minutes before mashing them.

Mashing potatoes
4. Smash!  A food mill or a ricer will give you the smoothest mash- I like my potatoes with a little texture, so I left a few chunks in there.  Use a masher, a meat tenderizer, the back of a spoon, your fists… whatever gets the job done.  Just don’t put the potatoes in a food processor or you’ll end up with a gluey mess!

5. Return the pot to low heat and stir in the butter and liquids, adding them a little at a time until the potatoes absorb the liquid and reach the consistency you want.  If you need more liquid, add it and remember, the more butter you add, the more delicious your potatoes will me.  Add sour cream, salt and pepper to taste.
  The sour cream in this recipe adds a nice tang, and boiling the garlic cloves along with the potatoes lends a sweet and subtle taste of garlic that isn’t overpowering.  For a more intense garlic flavor, roast a whole head of garlic and squeeze out the cloves into the finished mash.

  
  I would have just dug right into the steaming pot of creamy potatoes with a big spoon, but I was unable to ignore the nagging voice in my head whining that to indulge in such a starch-fest would be nutritionally irresponsible.  So I decided to fill out the meal with another of my recent favorites, a raw kale salad. 

Raw Kale Salad
2 bunch        Kale
1 can             white beans or
                       garbanzos
                       Sliced red onions

Warm Scallion Dressing
3 T             olive oil         
1                 shallot, diced fine
2                 green onions, sliced
3                cloves garlic, sliced 
2 T             sherry vinegar
                   Salt, pepper
1. Wash the kale and remove the stem ends.   Chop into thin ribbons and place in a large bowl with the sliced red onions.

2. Heat the olive oil in a pan, add shallots, garlic and onions and sauté for 2-3 minutes on medium heat.  Add the sherry vinegar and a pinch of salt and pepper and cook for another minute.

3. Pour the warm dressing over the salad and toss to coat.  With your hands, “massage” the dressing into the salad- this will help to break down the kale a bit take the raw bite out of the onions.  Add the beans and taste for salt.

4. Let sit for at least 10 minutes before serving- the kale will start to soften and take in the flavors of the dressing.  This salad just keeps getting better, the kale will hold its crunch for a few days in the fridge.

Raw Kale Salad with white beans and warm scallion dressing.
 
 Seeing as how I was already two-thirds of the way to a good square meal, I figured some protein was in order.

Chicken in Red Wine Sauce
2#                   boneless chicken thighs
1                      onion, sliced
1 cup               dry red wine
1 sprig           thyme
2 T                  butter
                       
1. Cut the chicken thighs into chunks and season with salt and pepper, then dredge the pieces in flour, dusting off the excess.
2. Heat olive oil in a pan on medium-low, sweat the onion for 5-10 minutes until it is soft and translucent
3. Turn up the heat and add the chicken pieces, browning them all over. 

4. Deglaze with red wine, turning down the heat to low and scraping the pan to release the delicious bits stuck on the bottom

5. Add thyme and cover, simmer on low for 10-15 minutes, until the chicken is cooked. 
6. Finish with butter, swirling it into the sauce.  Taste and season with salt and pepper.

Chicken with onions in red wine sauce, served over mashed potatoes
   
  A hearty three-point meal in just under an hour…  yum!

Tuesday, March 1, 2011

A Touch of Glass

Glass Noodles stir-fried with Broccoli, Mushrooms and Napa Cabbage
   It’s official, I’m obsessed with glass noodles!  So slippery and light, springy and snappy, they are a delight for the senses.  These noodles are great absorbers of flavor and they don’t fall apart like their rice counterparts or clump together like pasta and other wheat-based noodles.  But what are they exactly, and what makes them so freaking cool looking?
   As it turns out, cellophane noodles are made from starch- usually mung bean or potato- which becomes translucent as you cook it and also makes this a great gluten-free option.  Served warm or cold, glass noodles are popular in a lot of Asian cuisines, especially in Korean and Vietnamese dishes where they add a wonderful texture to salads, spring and summer rolls, soups, and stir-fries.  Plus, they are fat-free and have half the calories and carbohydrates found in ramen-style noodles, so I can feel pretty good about eating a big old bowlful. 
  My local grocery has a very limited “Asian” section, so imagine my surprise when I found cellophane noodles right there on the shelf!  Being my first attempt at cooking them, I had no idea how truly easy they are to prepare.  This is a great veggie option with tons of flavor and it took me less than 15 minutes to throw it all together with what I had in the fridge. 


Veggie Stir-Fry with Glass Noodles

1 pkt              Cellophane noodles
2 T                 ginger/garlic paste
2                    scallions
1 head            broccoli
1 small           napa cabbage
1 pkg              mushrooms              

Sauce:
¼ cup             soy sauce
2 T                  rice wine vinegar
2 T                  brown sugar
1 t                   sesame oil

1. Soak the noodles in hot water for 10 minutes to soften them.  I followed the instructions on the side of the packet which suggests using scissors to cut the noodles after they are soft- I found that this wasn’t so easy since they ended up in a pretty tangled mess.  Next time, I will definitely break them up a bit before I soak them.  Drain the noodles, rinse with cold water and set aside.

2. In a small bowl, mix together the sauce and adjust to your taste.


3. Stir-fry the veggies, then add the sauce and throw in the softened noodles and cook for 2-3 minutes more until they become clear.  Add a squirt of sriracha if you like them spicy!


4. Squeeze a lime over the noodles and garnish with cilantro, scallions, and/or sesame seeds.
 
 
   As always, this recipe is just a guideline based on what I made myself for dinner.  Glass noodles are so versatile and they work with so many different flavors.  Get creative and use your favorite veggies or meats for a fun quick meal!