Friday, January 20, 2012

Rapini and Spinach Torta

  The leafy deep green veg is looking so deliciously hearty these days that I found myself with a fridge full of the stuff.  We all know broccoli rabe, or rapini, with its spiky leaves and tender florets is delicious sautéed with olive oil and plenty of garlic, but I was feeling ambitious so I decided to try out this gorgeous torta with homemade crespelle.
  The recipe I found calls for sweet Italian sausage to balance the natural bitterness of the rabe, but I really wanted to keep it vegetarian so I used some spinach to break up the flavor and add another dimension.  The torta is assembled like a lasagna, with light crepes in place of sheets of dense pasta and plenty of creamy béchamel sauce between the layers.  And just like a lasagna you could put all kinds of stuff in it and get great results, so use your imagination and whatever you’ve got in the fridge!

 Not gonna lie, this dish is pretty labor-intensive and probably one to save for when you want to impress- the presentation is beautiful and it keeps well in the fridge for a couple of days.  And if you put in the time, I promise you’ll be rewarded with plenty of  “oohs” and “ahhs” from around your table.


Crespelle
3                      eggs
1 c                   whole milk
½ t                   salt
4 T                   butter, melted
¾ c                  flour


1.  Combine all the ingredients and blend until smooth- the batter should be runny and without lumps.

2.  Heat a non-stick pan on a medium flame and brush it with butter.  Use a ¼ cup measure to pour some batter into the center of the pan, then roll the pan around to coat it with a thin layer.
3.  Cook the crespelle until it is set and light brown on one side, then flip out onto a rack or paper towel to cool it slightly.  Repeat to make 5-6 more, depending on on how thick you want your torta- these can be made a day ahead and kept in the fridge.    
4.  Make some béchamel sauce and let it cool while you work on the fillings.
5. Clean and trim the rapini and spinach, blanch them in a pot of boiling salted water for 2-4 minutes, then shock in ice-water and drain.
6.  Heat olive oil in a pan and sauté sliced garlic and chili flakes, then add the vegetables and cook until they are tender but the stalks are still crisp.
7.  Brush a spring-form pan with soft butter- be generous!- and sprinkle the bottom with breadcrumbs to keep the crespelle from sticking.  Wrap the pan in foil to keep it from leaking.

8.  Start with a crespelle and spread a few spoons full of béchamel onto it, then your vegetables or other fillings.  You can also add cheese and more breadcrumbs.

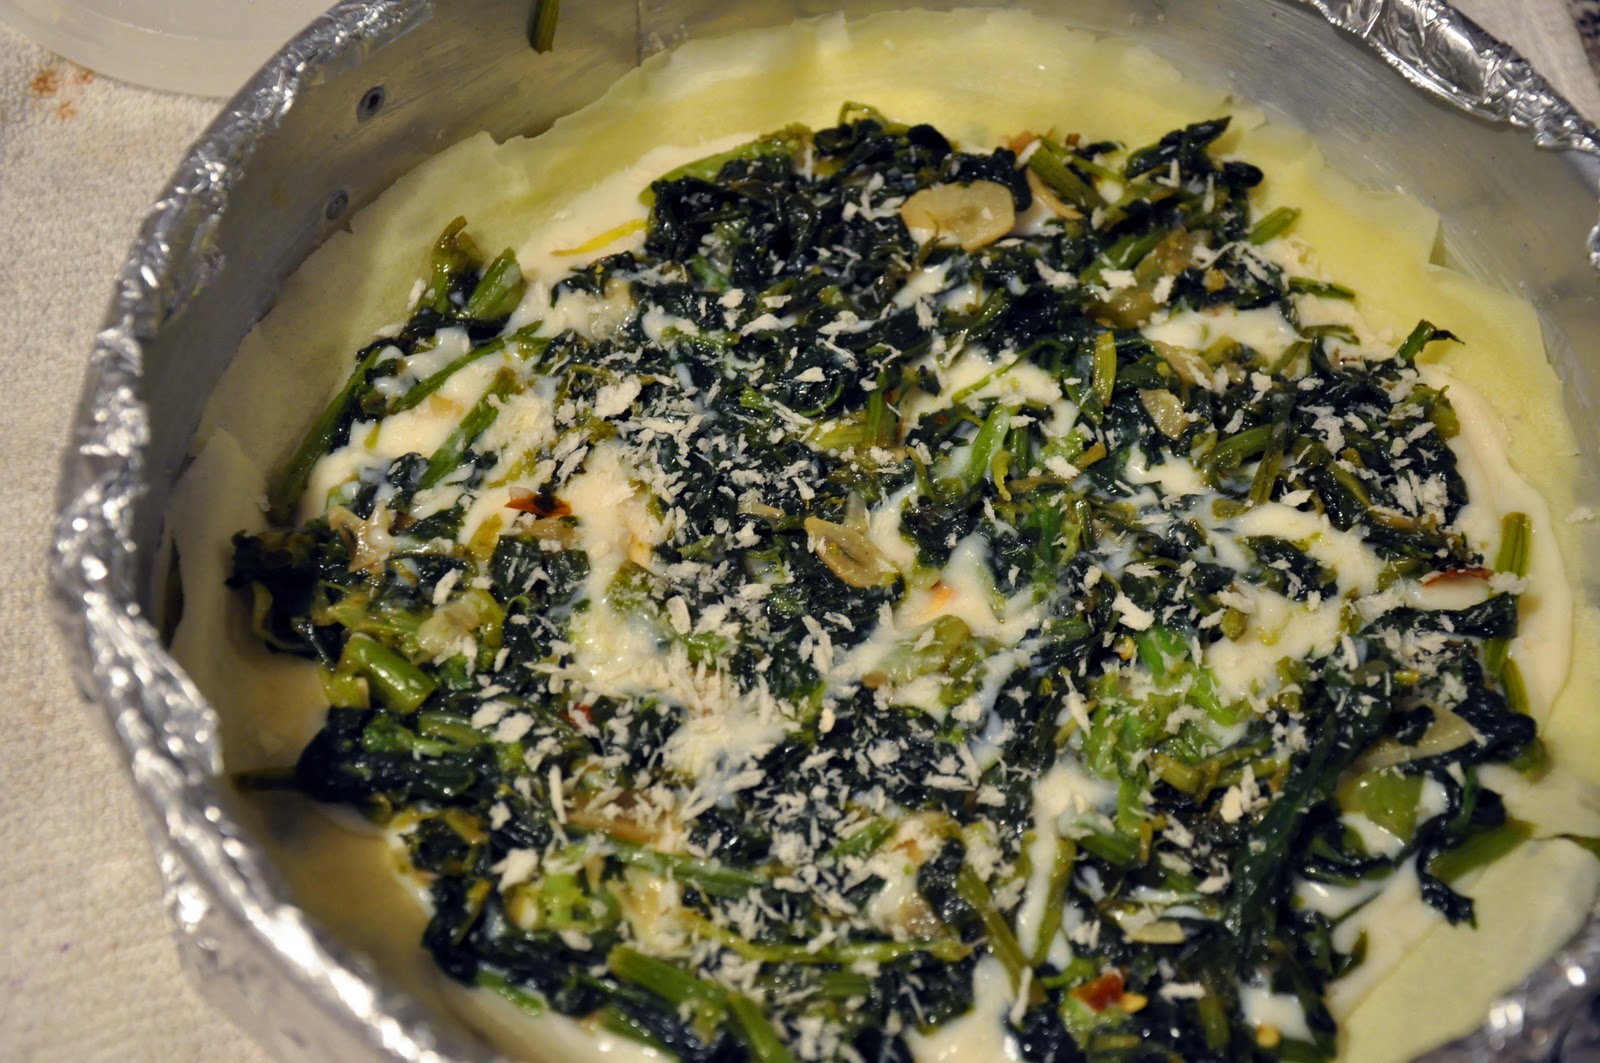
9.  Keep going until you’ve built 5-6 layers, ending with another crespelle on top.  Spread some béchamel over the top and finish with breadcrumbs and shredded parmesan cheese.


10.  Bake in a 400° F oven for 15-20 minutes, until the top is golden and bubbly- you can finish it under the broiler if you need to.


  Allow the torta to cool before you spring the pan open- if you’re planning to serve it the next day you can wrap and refrigerate.


  I can personally attest to the fact that it tastes even more fantastic on day two when the flavors have had a chance to get to know each other- I’m typing with my mouth full right now!

Tuesday, January 17, 2012

Concorde Cake

 
Happy New Year! 

   Sorry for the long silence, I’ve been working on a not-so top secret project that’s kept me away, but I’m back now.  Thanks to those of you who’ve told me you’re enjoying the blog, it means so much to know you’re out there reading.  Here’s to another year of yumminess!

   Over the holidays my mother asked me for something special for a dinner party, so I thought this fabulous Concorde Cake would be fun.  Supposedly created in Paris in honor of the plane, this cake is a chocoholic’s dream with a silky dark mousse surrounded by crisp bits of cocoa meringue.  It’s deadly decadent and a symphony of textures- plus, it looks pretty freaking cool…

  One secret to a stiff, glossy meringue is a spotlessly clean bowl- I always wipe mine down with a splash of vinegar to remove any traces of fat.  With this recipe you want a really stable meringue so I took the excuse to break out my gorgeous copper bowl- the copper ions react with the egg whites to strengthen the meringue and make it easier to do the old fashioned way.

  The preparation is relatively simple for the wow factor, and this cake is a fantastic flourless/gluten-free option if you need one.     


Chocolate Meringue
½ c + 1 T         cocoa powder

1 c                   powdered sugar

8                      egg whites

1 ¼ c               sugar

1 t                    vanilla


1.  Pre-heat the oven to 200° F.  Sift together the cocoa and powdered sugar set aside.


2.  Beat the egg whites in a stand mixer with a whip attachment, or use a good old-fashioned whisk and work out those arm muscles.  When the whites start to get foamy, stream in the granulated sugar while you keep whisking.


3. Continue to beat the meringue until it’s smooth and it forms glossy stiff peaks.
4.  Gently fold the cocoa mixture into the meringue in three parts until it is just incorporated, over-mixing will deflate the meringue.


5.  Trace two 8” circles on parchment paper and pipe or spread the meringue into discs.  Pipe the rest of the meringue into thick lines on another sheet of parchment. 


6. Bake the meringues in the oven for 3-4 hours at the lowest temperature, until the sticks are brittle all the way through.


Mousse

5 oz                 bittersweet chocolate
3 oz                 butter
3                      yolks

6                      whites

p                      salt

1.  Melt the chocolate and butter in a bowl over a pot of simmering water and set aside to cool slightly, then stir in egg yolks and a pinch of salt.  Meanwhile, whip egg whites with half the sugar to medium peak.

2.  Fold the whites into the chocolate mixture in three parts, being careful to keep the mousse aerated.
3.  Break the hardened meringue sticks into jagged pieces 2-3 inches high. Spread the mousse onto one of the meringue discs and cover with the other, then press down a little to squeeze the mousse to the edges of the cake. 
4.  Press the meringue sticks all around the side of the cake, then tie a string around to keep them in place.  Refrigerate overnight to let it set up.
5.  Dust the top with powdered sugar and decorate with a pretty ribbon to finish.