Wednesday, June 15, 2011

See How My Garden Grows


    A few months back I booked a HUGE wedding cake for a bride who dreamed of a cascade of hand-made sugar flowers sweeping down her six tiers.  It had been a while since I spent any serious time making flowers out of gum paste- not since my days as an unpaid intern at the flower factory so many years ago.
Back then I was at the bottom of the chain of production, and we interns were in charge of making most of the filler flowers- hundreds of hydrangea, slews of snapdragons, rows and rows of rose buds, and leaves, leaves, leaves…  I passed an entire week- every day, all day- rolling, cutting, veining and shaping leaves on wires for our delicate sugar roses that came in all colors- the week after was spent dusting the leaves with colored powders, dipping them in a noxious sticky glaze and tying them together with floral tape.  And when I had tied the very last leaf with a sigh of satisfaction and relief, I was instructed to pull out the green gum paste and start production all over again. 
  I never got my hands on any of the really fun stuff- like the shimmery green Cattleya orchid petals or the bright red parrot tulips, or even the blooming roses, though I saw hundreds of them being made around me.  So it was no wonder I always thought flower making a mind-numbingly monotonous endeavor that just wasn’t really for me.

 Making gum paste flowers, just like growing real ones, takes a lot of planning, labor, and a practiced hand.  Every bud and center is shaped between the fingers, each orchid throat painted with a thin brush. 
  These days things are different and I’m not an intern anymore, so I was excited about the idea of making some of the more complicated flowers from start to finish, not least of all because of all the fun new cutters and veiners and tools I got to buy.  Other equipment I had to make, like my drying racks and petal cups.  I chose the flowers types based on my conversation with the florist, working in shades of green and purple.


  For the Cattleya orchid and the Peony, each petal is cut separately, pushed onto a wire, shaped and dried wavy to give it movement. 


    Other flowers like roses, hydrandgea and calla lilies are shaped and dried upside-down overnight.   

  Once the petals and flowers have dried hard, they are brushed with petal dust to bring out highlights and shadow, like makeup. 


  The process is completed over several days with little to show.  And then suddenly, when all the centers and petals and buds and leaves are dry and dusted and ready to be tied, do you begin to see your garden grow!


  The cake was so large that I had to take it in two pieces...


Sunday, June 12, 2011

Strawberry Oat Muffins

  Wedding season is upon me and this weekend has been busy with baking, filling and icing layer after layer of spongy cake with creamy frosting.  I've never been so busy, which is a great feeling!

Vanilla cake with sliced Strawberries and Lemon Buttercream

  I had quite a few leftover strawberries after making this simple cake, so I threw together these muffins for a late breakfast treat. 

Strawberry Oat Muffins

2 cups         Rolled oats
2 ¼ cups     AP flour
2 T              baking powder
1 cup          brown sugar
½ cup          sugar
1 ½ t           salt
1 t               powdered ginger
2                 eggs
2 cups         milk
1 cup          butter, melted
2 cups         strawberries, chopped

Yield: 2 dozen


  Muffins need very little mixing so I opted to stir by hand in a big bowl- I figured my poor overworked KitchenAid needed a much-deserved rest anyway.

1.  Chop strawberries and sprinkle them with some sugar to macerate.  You can use frozen berries if you need to, just allow them to drain a bit before chopping them.

2. Combine dry ingredients in a large bowl and stir with a whisk to break up lumps.  Mix milk, eggs and melted butter in another bowl. 


3.  Pour liquids into dries and stir until just combined, then allow the mixture to stand for 5 minutes to let the flour absorb the liquids.  Stir in the strawberries and scoop batter into lined muffin pans.  Top each muffin with a strawberry slice, then sprinkle more sugar on top and bake at 350° F for 20-25 minutes until the tops are golden brown.


 The smell of these muffins baking is filling my apartment with the aroma of Strawberryland, and I can hardly wait to crack one open...
Monday, May 16, 2011

Taking Stock


   There’s nothing quite like the smell of homemade chicken stock simmering away on the stove, filling my apartment with a warm and cozy aroma like a quilted blanket wrapping around my soul.  It’s always a good idea to have stock on hand, especially for making soups and sauces, and I try to avoid the canned stuff if I can help it.  So every few months I make a big batch in my extra large stock pot and freeze it in quart containers.
Save the chicken fat you skim off the top and use it to make matzoh balls.
   Of course there is an art and science to making “perfect” stock, but so much of what I do in the kitchen is regimented that when it comes to making stock, I like to keep it simple.  I’m not that concerned with roasting bones, getting the exact ratio for the mirepoix right, or tying my herbs in a neat little bouquet garni.  For me, there are only three rules to making stock: throw some stuff into a big pot and cover with water, simmer for several hours, and strain.  So maybe it wouldn’t earn me an A in Stocks class, but I’ve always been more than happy with the results.

  This recipe is not even really a recipe because I usually just throw in what I’ve got- a lot of grocery stores will sell a package of stock veg, which makes it even easier.  It is a good idea to peel the vegetables as the skins can give a bitter flavor to your stock.


Chicken Stock
1 whole small chicken, 1-2 pounds
3 pieces bacon, cut into strips
onion, carrots, celery, parsnip, turnip, garlic- diced
parsley, dill, bay leaf
6-7 quarts cold water, enough to fill the pot


1.  In a deep, heavy-bottomed pot, heat some oil on medium and fry bacon for a few minutes.  Throw in the mirepoix (onion, carrot, celery) and other veg and a bit of salt and sweat until they begin to soften.


2.  Cut up the whole chicken and leave the skin on, you can also buy chicken parts, but buying a whole chicken is less expensive and results in a more flavorful stock.  For a video on how to cup up a whole chicken, check out this video.


3.  Turn the heat up to high, add the chicken to the pot and brown the skin a bit if you can.  Pour cold water over until the pot is almost full.  A whole chicken will flavor quite a lot of stock, but if you don’t have a very large pot it’s ok, the stock will just be more intense. 
4.  Add bay leaf, chopped parsley and dill, and bring to a boil.  Reduce to a simmer and cook your stock for 3+ hours.  Give the pot a stir every so often and skim any scum off the top.

5.  Remove the chicken pieces from the pot and leave them on a plate to cool so you can pull the meat from the bones.  You can add this meat back to strained stock later to make chicken soup, or use it for chicken salad or tacos or whatever.  Strain the stock through a very fine mesh strainer or chinois into a clean container and leave it in the fridge overnight. 


6.  A layer of fat will rise to the top and coagulate so you can easily skim it off the next morning. 

   You can use the stock right away or store in air-tight containers in the freezer.  I also freeze some in ice-cube trays and store the cubes in a freezer bag- these are great for throwing a bit of stock wherever you might need it. 

  Taste the stock and note the balance of flavors- maybe in your next batch you want a little more celery flavor, or you don't like what the parsnip does to the finished product.  Make a note for yourself about what you want to adjust for the next time, and keep experimenting!  Soon you'll be on your way to having your own signature stock recipe unique to your own tastes.

Saturday, May 7, 2011

Asparagus Frittata

Farm- fresh egg frittata with asparagus and goat cheese
  I know they said this would happen, but the older I get the longer it takes my body to recover after a night of steady drinking.  Used to be I’d barely feel it, but nowadays it’s all I can do to drag my ass to the couch to lay, let alone put on pants.  On mornings like these I am pretty much useless, and I crave a tall glass of fresh squeezed OJ and a plate of eggs to restore me to normalcy.  Frittata is a great quick dish, just stir together and throw in the oven- it’s ready by the time your Advil kicks in.
  I had a beautiful bunch of asparagus from the market and some farm fresh eggs and a Vermont goat cheese from Barnyard, but this recipe will work with whatever goodies you choose to throw in.


Asparagus Frittata
1 bunch           asparagus
2 strips             bacon
1 T                   butter
2 cloves           garlic
1 ½                  salt
8                      eggs
1/3 cup             heavy cream
                        Goat cheese
   There’s nothing tasty about dense, dry eggs- I wanted an airy texture so I cooked the omelet in a pretty little Le Creuset that PJ got as a gift from Matt, his chef at Nobu 57.  The heavy cast iron is fitted with a tight lid that creates a soufflé effect on the eggs, puffing them up and resulting in a lovely light and fluffy frittata.
- Preheat the oven to 350° F.  Coat the bottom of the pan with a little olive oil and heat on medium flame- cut bacon into strips and cook it for a few minutes until it starts to get crispy (skip this step if you want to keep it veggie).  Add butter, toss in the garlic and cut asparagus and sauté for about 5 mins until it begins to get tender.

- In the meantime, crack the eggs in a large bowl and add the heavy cream, salt and pepper.  Whisk until they are all combined and slightly frothy.

- Turn the heat up a bit and crumble the goat cheese on top of the asparagus, then pour the eggs over.  Cook for a minute, then cover with a tight-fitting lid and put in the oven.


- Bake for 15-25 minutes, until the frittata is light and the center is set, finish under the broiler until the top browns a bit.  Let it sit for 5 minutes, then flip the pot onto a plate and serve warm, or refrigerate and enjoy it cold for tomorrow's lunch.


Wednesday, April 27, 2011

Wonderland Sugar Cookies


…Still she haunts me, phantomwise
Alice moving under skies
Never seen by waking eyes.

Children yet, the tale to hear,
Eager eye and willing ear,
Lovingly shall nestle near.

In a Wonderland they lie,
Dreaming as the days go by,
Dreaming as the summers die:

Ever drifting down the stream --
Lingering in the golden gleam --
Life what is it but a dream?
          -From Through the Looking-Glass, by Lewis Carroll

  In a recurring dream, I stumble upon a small glass box with a perfect little confection inside, the words “Eat Me” spelled out on top in frosting.  Perhaps that’s why making these adorable cookies for an Alice in Wonderland themed 1st birthday party last weekend was so deeply satisfying.  And it was a good thing that I made some extras because even I couldn’t resist doing just what they commanded.

  I used a simple sugar cookie dough and frosted them with pale blue royal icing- here’s Martha’s recipe if you want to try it. This type of rolled cookie dough recipe is made using the creaming method which provides a short crumb and buttery texture.    
  I start by creaming the butter and sugar until they lighten a bit, then add the eggs and vanilla one at a time.  I mix slowly to allow the fats to absorb the liquids and form an emulsion- if any of the ingredients are too cold, the mixture will curdle.  I cheat and take a blowtorch to the KitchenAid bowl, but if you don’t have one lying around it’s a good idea to remove the butter and eggs from the fridge like an hour before you want to use them.    


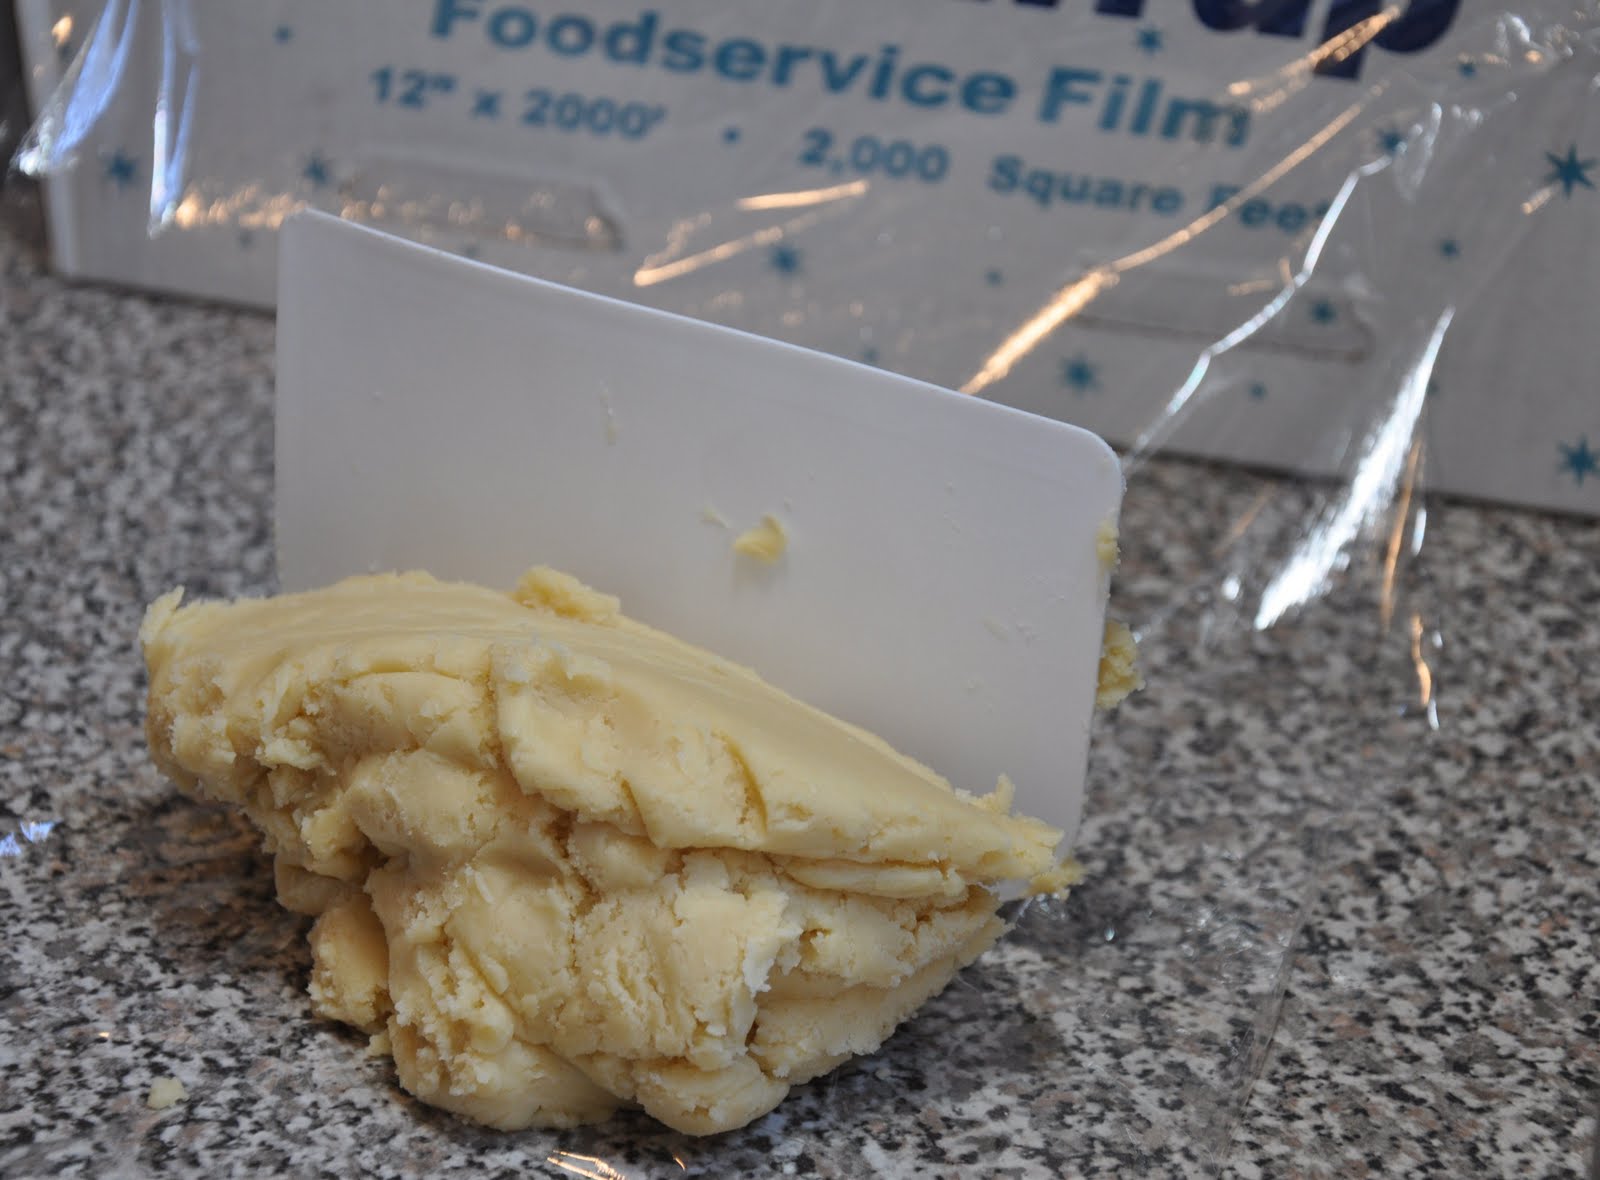
  I add sifted dry ingredients to the butter and eggs and mix on low until just combined.  You don’t want to overwork the dough here- kneading develops gluten and results in a tough final product.  As soon as the dough forms a ball, you can divide it in parts and wrap it in plastic parcels to refrigerate.

  Once the dough hardens in the fridge, I roll it out and cut out shapes, then bake until golden brown.


  Then I ice and decorate.  For these I used a loose royal icing, then piped in a firmer purple icing on top. 


Friday, April 22, 2011

Buttermilk Ramp Biscuits

Buttermilk Ramp Biscuits with Coriander and Pecorino Cheese
 When I was 23 I was working as a pastry cook at Tabla- my first experience with life in the professional kitchen.  It had been a rough start but I’d survived the long cold winter living in my parent’s basement, and by spring I had emerged triumphant, moving back into the city with plans to start culinary school in a few short months.  I was discovering my love for working the line, and new beginnings were in the air. 
  One slow Sunday in April before service, a burst of activity at the pass caught our attention over in pastry- a couple sous chefs had come in with four huge plastic Lexans full of what looked like dirty overgrown stinkweeds.  It was the arrival of the first ramps of the season, and their pungent wild oniony smell invaded the kitchen like clouds of tear gas. 
  Before then, I'd never heard of a ramp, and I watched Chef show us how to clean them.  He grabbed a slim leafy bulb and sliced off the tangle of dirty roots by the end, then peeled off the slimy outer layer- voila.  It seemed like a lot of work for a stinky little weed.  For the next two weeks the big tubs of ramps kept pouring in, and cleaning the grimy shoots became a daily activity, even in pastry.  Their stink permeated my every pore and even after work I could smell it on my hands and in my hair, and my fingernails were constantly dirty no matter how much I scrubbed.  I’ve always been a hard-core Allium lover at heart- the more pungent the better- but as far as I was concerned if I never saw another ramp again it would be ok by me. 
  And then I actually tasted one- grilled on the flat top and sprinkled with sea salt- and I finally got what all the fuss was about.  In flavor they are compared to a cross between garlic and onions, but they have a funky earthy quality all their own.  
  Ramps only grow wild, and their season lasts but a few short weeks at the dawn of spring.  Back then, the only people who noticed or cared that the ramps had arrived were the chefs who scoured the green market at dawn, buying up every last crate before the sun had reached its high point in the sky. 
  But thanks to their being the very epitome of seasonal New York, it seems every over-blogged eater who calls himself a foodie is suddenly an expert in this “trendy” little plant.  In this city where I can buy an avocado on any corner in the middle of January or pop into Whole Foods for a mangosteen twelve months of the year, the ramp remains seasonally out of reach.  There’s an impenetrable velvet rope around ramp season and we all know how New Yorkers just love to line up.  Some have compared the recent popularity of the ramp with the arugula boom of the 90’s, already forseeing it as a passing fad, and others ask, are they really worth the hype? 
What kind of a question is that, people?  We’re talking about a vegetable here, not some summer blockbuster!
In their delicate flavor there is something fleeting and reckless, bold and young and unapologetic.  Their silky leaves are among the first real green things we see in the spring market and their arrival brings the uncultivated promise of good things to come.  They aren’t the prettiest to look at but they clean up nice, and they seem to say: “Take us as we are, or leave us be!”, and you gotta respect that. 

Buttermilk Ramp Biscuits
2 cups         ramps, bulbs and leaves
                   cleaned and sliced
1 ½ cups     buttermilk
1 T              heavy cream
3 ½ cups      AP flour
1 ½ T          baking powder
1 T          baking soda

1 T              salt
2 tsp           coriander seeds, crushed
6 oz             butter, cold and cubed
                   Pecorino cheese


1. Preheat oven to 425° F.  Combine buttermilk, cream and ramps and soak for up to an hour- this will allow the ramps to steep into the buttermilk and intensify their rampiness
2. In a food processor or stand mixer, combine flour, baking powder, salt and 1 tsp coriander seeds. 
3. Cut the cold butter into the dry ingredients with a few pulses, until the mixture is mealy but still a bit chunky.  Add the buttermilk mixture and combine just until the dough comes together. 


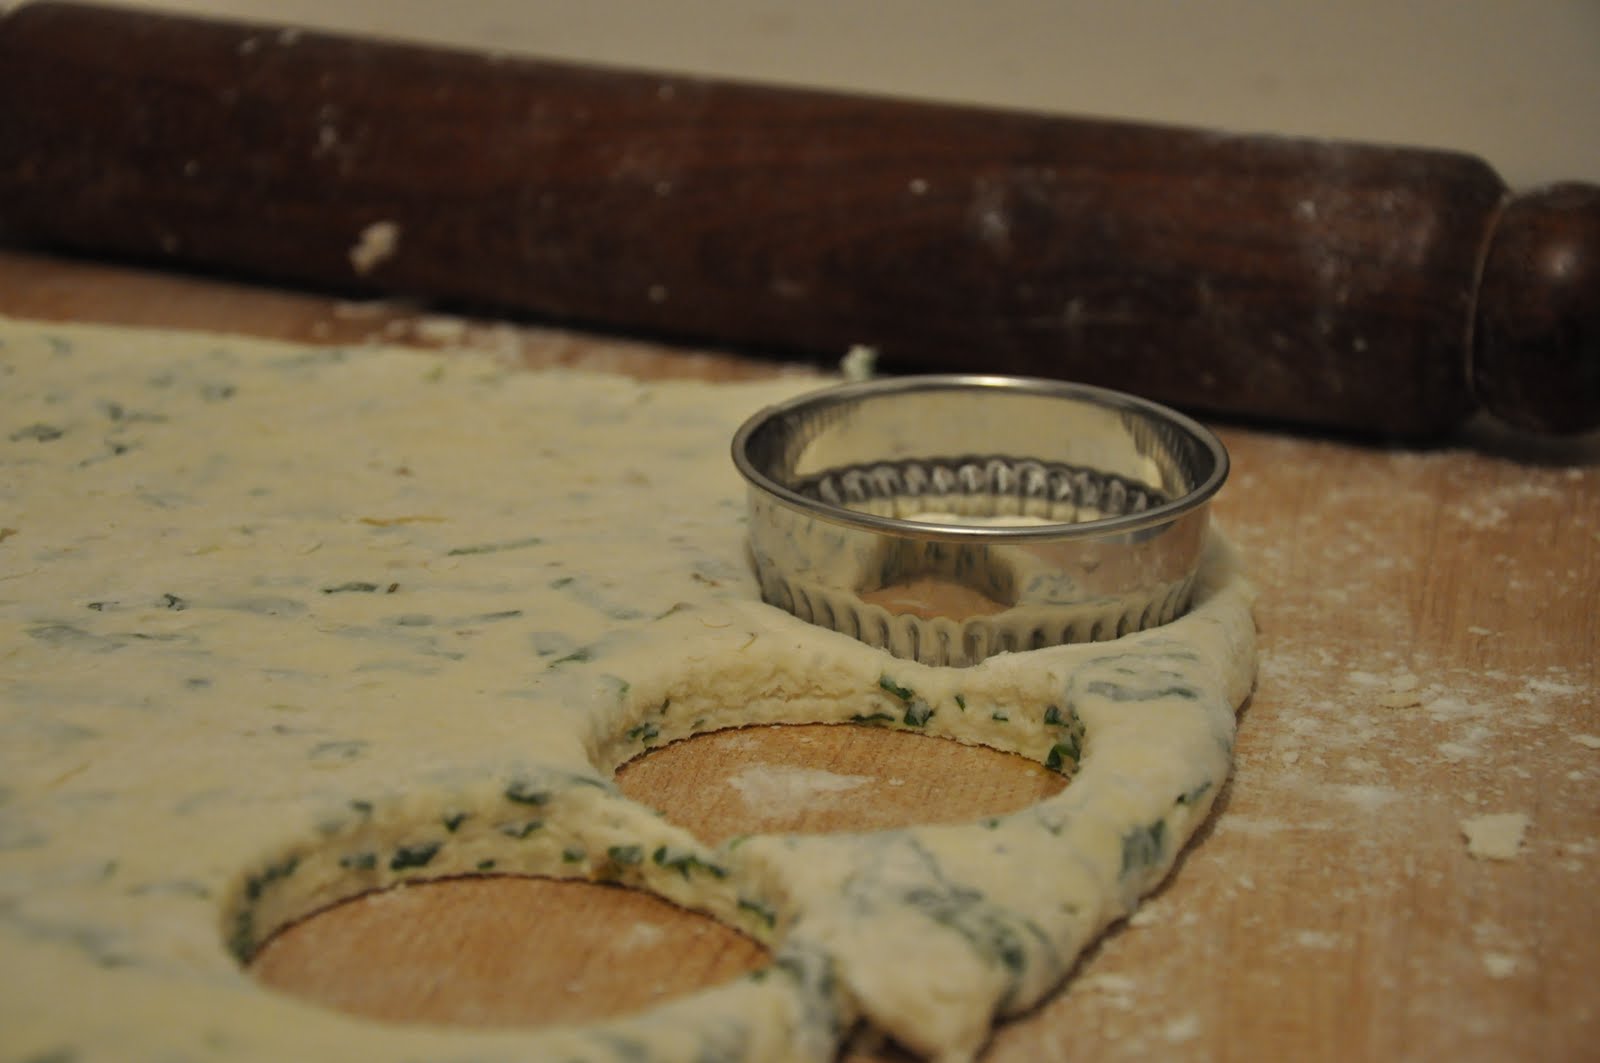
4. Turn out onto a floured surface and roll to about ½ inch thick.  The dough might be tacky- dust with more flour to keep it from sticking as you roll.  Cut out circles with a cookie cutter or  use a knife for a more rustic look.


5. Place onto a lined baking sheet, brush with heavy cream and top with crushed coriander and shredded cheese.  Bake for 16-20 minutes, until the biscuits are risen and golden brown on top.